We're an affiliate
We hope you love the products we recommend! Just so you know, we may collect a share of sales or other compensation from the links on this page. Thank you if you use our links, we really appreciate it!
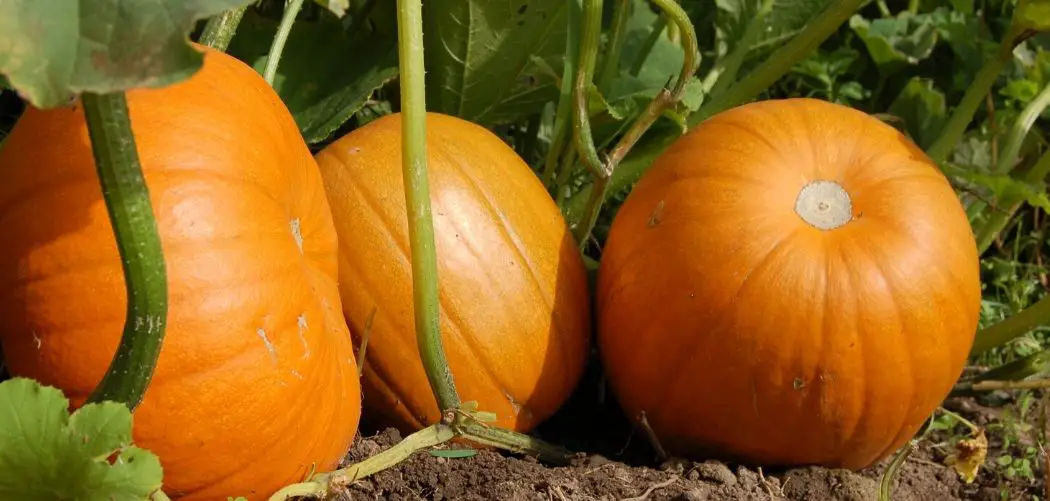
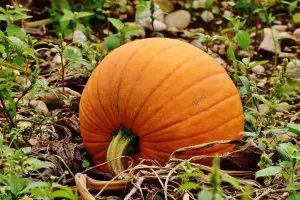
Pumpkins come in different sizes and shapes. However, we all want to have that large juicy pumpkin to make soup or a pie. Also, big pumpkins are easier to carve during Halloween. This article will give you an in-depth guide on how to grow bigger pumpkins
Edible or Decorative Pumpkins
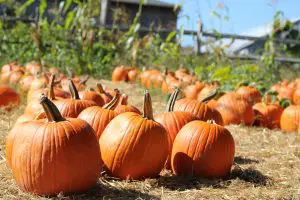
Pumpkins are primarily grown for two purposes. They can either be ornamental/decorative or culinary/edible. While almost all varieties of pumpkins can be consumed, some are bred purposefully to be used for just decoration, especially during Halloween. Thus, these types tend not to be as flavorful and are stringier. Some of the ornamental pumpkin varieties include Cinderella, Blue Doll, Toad, and Warty Goblin.
On the other hand, the culinary ones include Long Island Cheese, Red Warty, and New England Pie. In general, pumpkins used to make pies and soup tend to be smaller than their decorative counterparts. However, this does not mean that you cannot cultivate your edible pumpkins to be bigger. Regardless if you are growing ornamental or culinary pumpkins, our guide will provide you with step-by-step instructions on how to grow bigger pumpkins.
Table of Contents
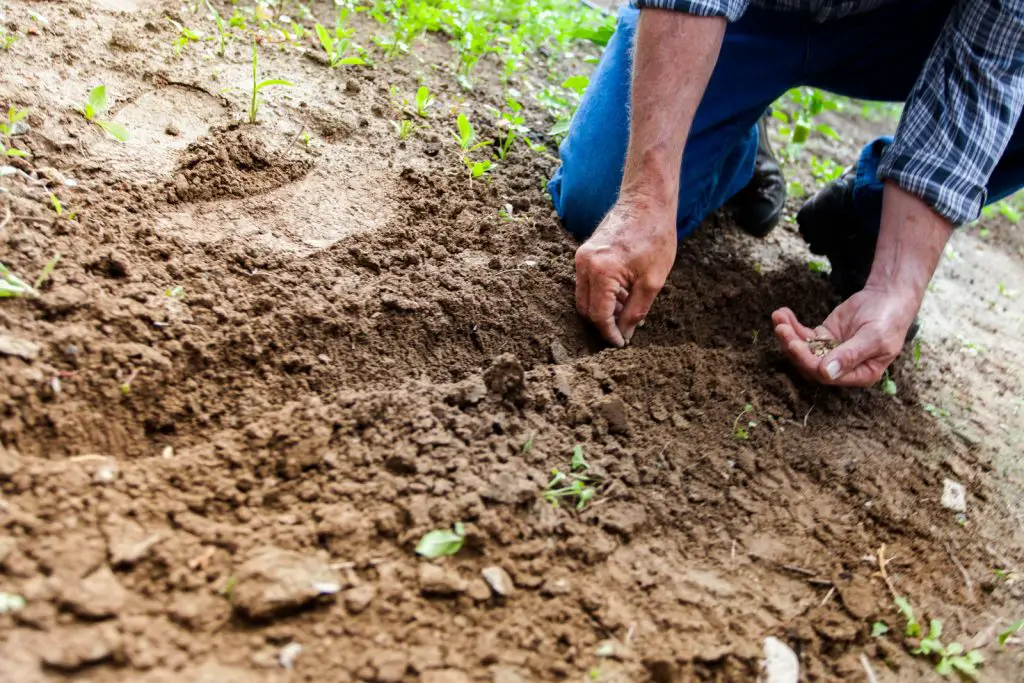
Step 1: Know your Soil
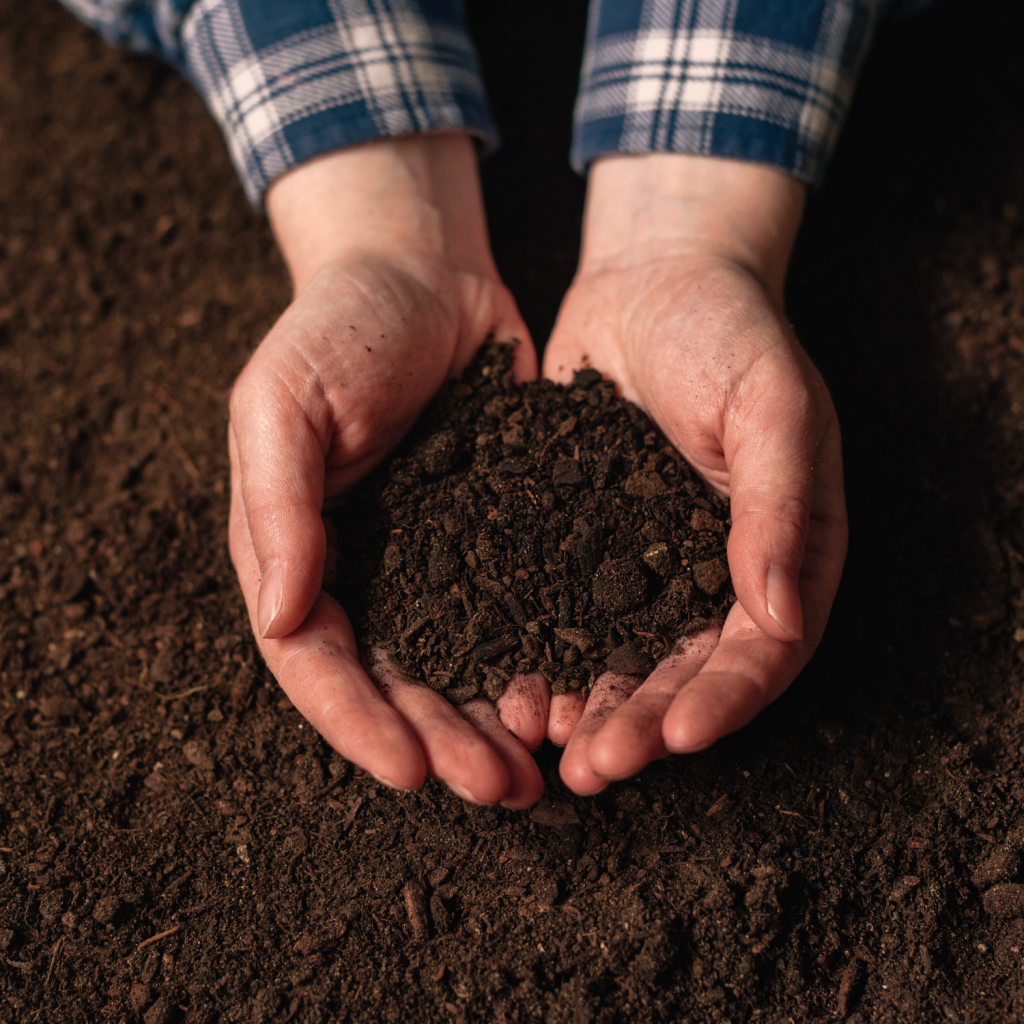
Pumpkins are very versatile and can survive in most soils. However, certain types of soil composition make it favorable for pumpkins to flourish. By composition, we mean the pH, nutrients, moisture content, texture, and salinity. Generally, pumpkins require soil that is adequately aerated; as such, they cannot grow well in clay soils. Also, they are sensitive to acidic conditions.
Therefore any pH that is below 6.0 will not favor pumpkins. The soil should also not be too alkaline as this will impeach their nutrient absorption capability.
When you want to be sure about your soil composition, you have to conduct soil testing. Today, it is quite easy to carry out soil testing since there are home-testing kits available in the market. Additionally, there are many benefits of soil testing, such as knowing the type of fertilizer to buy, etc. Lastly, pumpkins love sunlight and thus don’t go to planting them in the North Pole where the annual average sunshine is low.
Step 2: Field Preparation
It would be best if you started preparing for planting as early as you can. Do not wait until spring to get ready. You can even prepare your land a year from your intended date of planting.
This is especially so if you want to plant organic pumpkins since you have to give your manure time to decompose and release nutrients.
Also, if you have been growing pumpkins for some years, you can choose to skip one year to help the soil recoup some of the nutrients used up by previous crops.
You need to ensure that your land is uniform so that your pumpkins mature at the same time. It is advisable that you turn your soil several months before planting. This will guarantee that any manure or crop residues fully decompose. Additionally, when you prepare the land early, you will allow weed seeds to germinate, making it easier for you to spot and destroy them.
Pumpkins are generally grown on raised beds that are about 15- 20 cm high. This is because the roots can penetrate up to a meter deep. The spacing between the beds should be about 2 m center-to-center. This spacing will allow for furrow irrigation. As mentioned above, soil testing is very crucial if you want to have exceptional yields. If, for example, you tested your soil and you found out that the pH was very acidic for pumpkin cultivation (below 6.0), you can apply lime or dolomite to bring up the pH level. This will ensure that after you plant your seeds, they will be able to take up nutrients efficiently.
Another thing that you have to check during land preparation is soil salinity. If the soil is very saline, the yield will be drastically reduced. By testing the soil’s electrical conductivity, you can know how saline your land is. Pumpkins tolerate salinity levels of 1.5 Deci Siemens per meter (dS/m). Do not worry about these technicalities; your home soil testing kits will interpret the findings for you. Some of the things you can do to reduce salinity include; applying chemical treatment, leaching, and improving drainage.
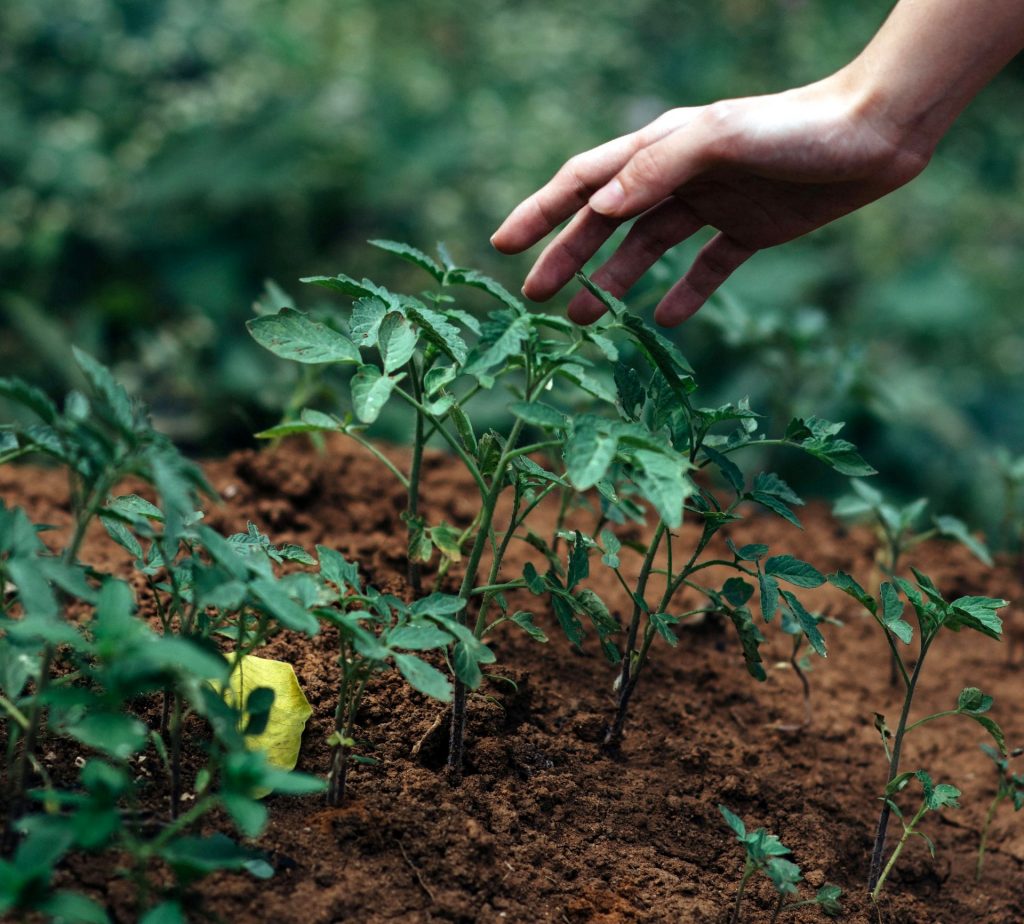
Step 4: Planting
Now to one of the most crucial steps (planting). This is where you should take absolute care. You need to plant at the right time and under the best conditions. First, you need to know that the seeds must be planted in a nursery bed before you transplant them to the field. Some pointers for this step include:
- Prepare a nursery bed indoors or in a greenhouse
- The temperate of the air should range from 65 to 75 degrees while that of the soil should be 70 to 90 degrees.
- Cover the seedlings with a thin mulch to protect them from externalities.
- Water the seedlings twice a day
- Do not disturb the nursery bed to avoid damage to the sprouts.
- Let the seedlings grow for about five to seven weeks.
While the seedlings are germinating, put plastic wrap on top of the soil at least two weeks before the date of planting. This will ensure that your soil beds reach a temperature of at least 60 degrees, which is optimal for seedlings.
When the seeds have germinated and are ready, select the most vigorous-growing seedlings that have several leaves. Do not choose seedlings that appear to have stunted growth or are unhealthy since they will most likely not grow well. Pumpkins require a lot of space to spread and grow properly. Therefore, provide each plant with at least a 40-foot diameter.
Step 5: Post-Planting Care
After you have planted your seedlings, the amount of care that you put into them will determine how well they grow. Immediately after planting, cover your seedlings with a cold frame.
This will protect them from late frosts and will also warm up the ground to encourage growth. Next, you should always check your soil daily and ensure that the land is evenly moist. However, do not let it be too soggy.
Fertilizers: The application of fertilizer is also essential. Always apply fertilizers with light doses of nutrients weekly. During the initial growth period, apply fertilizers rich in nitrogen. In this case, you can go organic and use fish emulsion. Next, during the middle period, increase the phosphorus content of your fertilizer. Lastly, during the third phase, use products high in potassium, for example, greensand.
Weeding: Weeds can damage your output significantly. While early land preparation can mitigate this problem to some extent, it is always vital that you keep your weed infestation in check. It is advisable that you use manual weeding where you uproot the weeds by hand to avoid damaging the crops.
Pruning: This is not a must; however, if you do, it can promote secondary root growth, which will help in nutrient absorption.
Pollination: For pumpkin fruits to appear, the flowers have to be pollinated. You can choose to leave pollination to nature, where pollinating agents such as bees or wind will do the work for you, or you can opt to pollinate the flowers manually. Manual pollination can help you control the genetics of the future seeds and ensure that all the flowers are pollinated. You will know if pollination was successful when the pumpkin keeps growing.
Step 6: How to Grow Bigger Pumpkins (Summoning the Monster)
First, if your growing area is exposed to wind, you have to erect a low fence around the pumpkin. This helps prevent leaf damage and also desiccation.
For your pumpkins to be huge, you need to note that the leaves also have to be large to assist in maximizing photosynthetic energy. Next, you should pick off all flower buds up to when the pumpkin vine reaches about 10 feet long. This will also aid in growing larger leaves, which is essential for big pumpkins.
When the pumpkins start to grow, let them mature for several weeks. After they have grown to the point where you can distinguish them, remove all but the largest fruit per vine. This means that each vine should have only one pumpkin fruit.
The purpose of this is to prevent competition between the fruits and ensure that they have access to all the nutrients they need. The pumpkin should not come into contact with the moist ground; as such, spreading a bed of sand under the chosen fruit is crucial. It would be best if you also switched to potassium-rich fertilizer to facilitate fast growth.
NB: This section is only recommended for ornamental pumpkin cultivation.
Step 7: Harvesting
If you follow all the steps highlighted in this article, your pumpkins will grow big and healthy. The fruits should be harvested after the skin has hardened. Even after harvesting, the fruit is still physiologically alive.
Therefore you need to cure the fruit before storage to increase post-harvest life.
To cure the fruit, store it in a room where the temperatures are about 24-30 degrees Celsius and relative humidity of 75-80% for 5 to 10 days. This process will help ripen immature fruits and enhance the color of the fruit. After curing, do not store the fruit in temperatures below 10°C.
Conclusion
One essential thing that you should take note of is that pumpkins require continuous care to facilitate growth. While not all your pumpkins will be massive, most of your fruits will have above-average weight and will look healthier and tastier. We hope that this guideline was beneficial and that your next pumpkin harvest will be plentiful